ESPHome on Home Assistant
Note
ESP32 C3 on ESPHome is currently in development, so you need to install the dev version of it.
Install Home Assistant
Home Assistant is a greate local IoT Platform which connect different devices and services together. You can install it on your own computer or Raspberry Pi which is recommended. To install Home Assistant, you need to install and setup Home Assistant, go to https://www.home-assistant.io/.
Install ESPHome
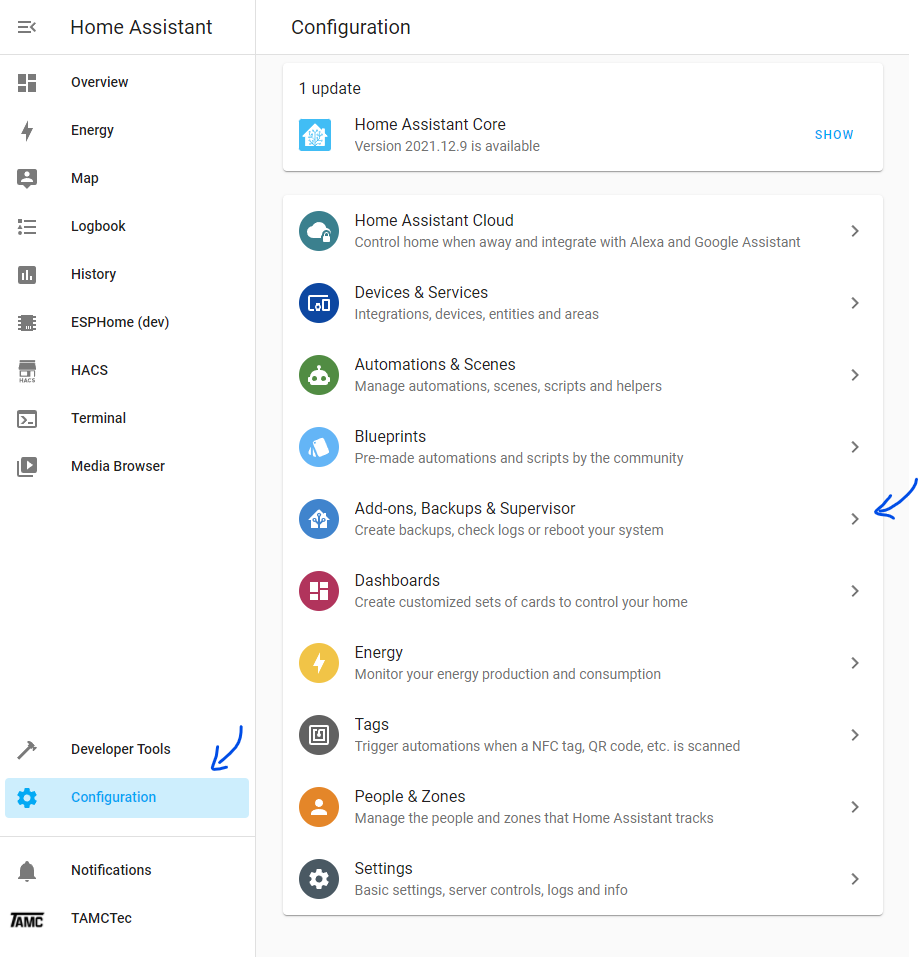
After installing Home Assistant, you can install ESPHome on your Home Assistant. Open your home assistant page, which normally http://homeassistant.local:8123/. Go through Configuration => Add-ons, Backups & Supervisor
Click on the right bottom ADD_ON STORE button.

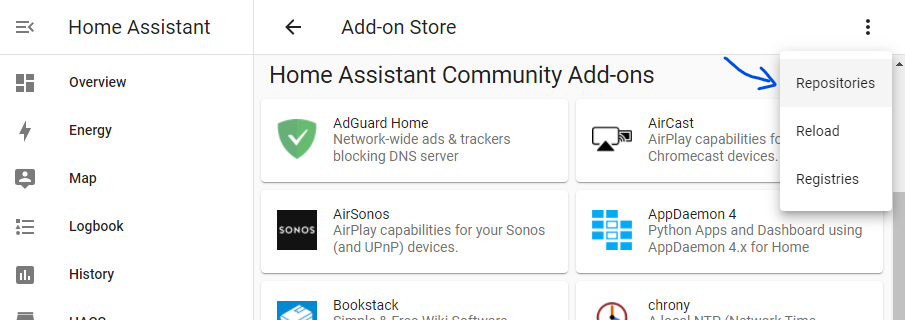
Click on the top right three dots. Then click on Reposotories.
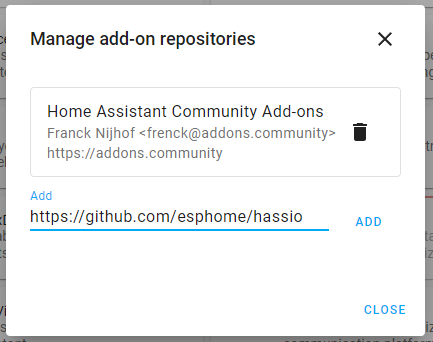
Paste in the esphome repo url:
https://github.com/esphome/hassioand click Add.
Note
Do not install it from Home Assistant Community Add-ons which is the release version.
After repository added, go back the add on store, you should see a category called ESPHome with 3 options. click on the (dev) versions.

Now you are in ESPHome(dev) Add-on page, click on Install button to install it.
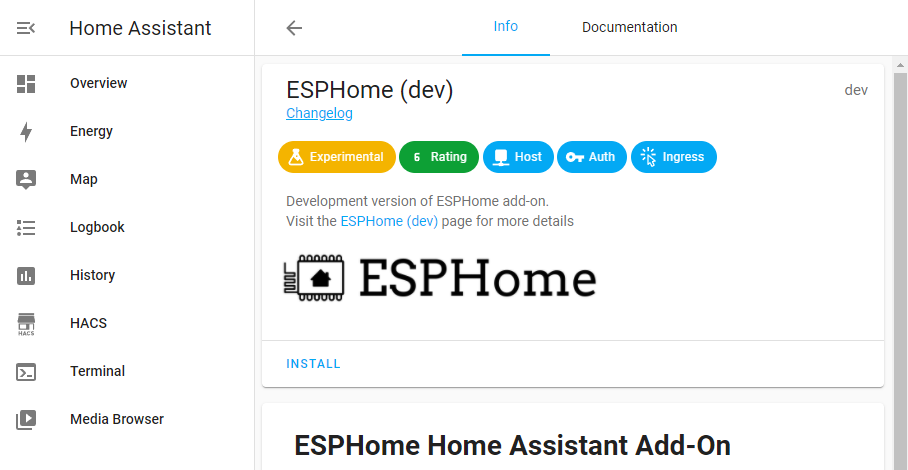
After installation, you can see the Start button. Click on it to start the ESPHome. There also a Show in sidebar option you can turn on to stick ESPHome on the side bar for easy access.

After ESPHome is started, click on OPEN WEB UI button to open the web UI. If everything go well, you are now at ESPHome page.
Note
This may failed if you click a little too quick. as it need some time to actually start. if it goes wrong, you can try again. If it still failed, click on the Log tab on top to see the error, and maybe search it on the internet or issue on GitHub: https://github.com/esphome/issue.
Setup Sense Node C3
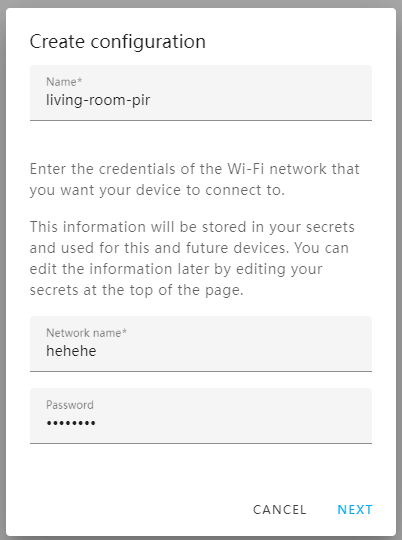
Now to add your sense node C3, click on the NEW DEVICE button. Type in the name you want it to be, like “living-room-pir” or someting. It will prompt you to input the Wi-Fi SSID and password the first time. This will save in your ESPHome SECRETS settings for all boards. So type in your Wi-Fi SSID and password and click on NEXT button.
Then, choose ESP32 and click on NEXT button.

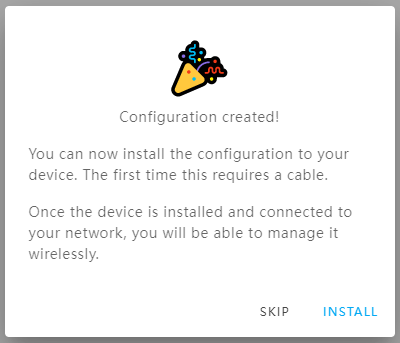
It’s done! Click SKIP as it need more configurations.
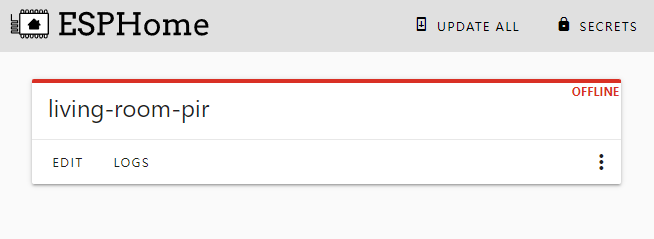
Now you can see the device on the main page. Click on EDIT.
You can see the YAML file with the basic configuration. Replace esphome: and esp32: with the following line, remember to change the name back:
esphome:
  name: your-device-name
  platformio_options:
  board_build.arduino.upstream_packages: []
  platform_packages:
    - framework-arduinoespressif32 @ https://github.com/espressif/arduino-esp32.git#2.0.1
  platform:
    - https://github.com/platformio/platform-espressif32.git#feature/arduino-upstream

esp32:
  board: esp32-c3-devkitm-1
  variant: ESP32C3
  framework:
  type: arduino
Now add the neopixel light to see if it works. Add the following line at the bottom, remember to change the name if you want to
light:
  - platform: neopixelbus
  type: GRB
  variant: WS2812
  pin: 8
  num_leds: 1
  name: "Sense Node Status"
Click on INSTALL it will save automatically. The first time uploading the firmware, you need to use a USB cable to connect to the board with the Raspberry Pi or a computer your HA is installed on.
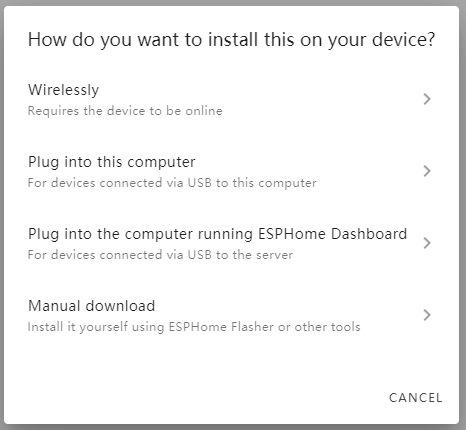
And choose the third option, and then choose the coresponding port, which is usually USB JTAG/serial debug unit
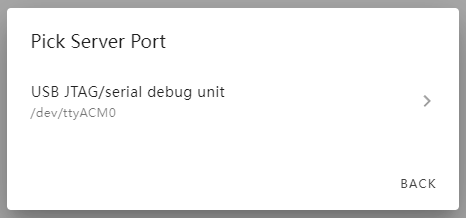
Note
If it says No serial devices found, try again or check faq:no-serial-device-found.
Wait a while for the firmware to be uploaded.

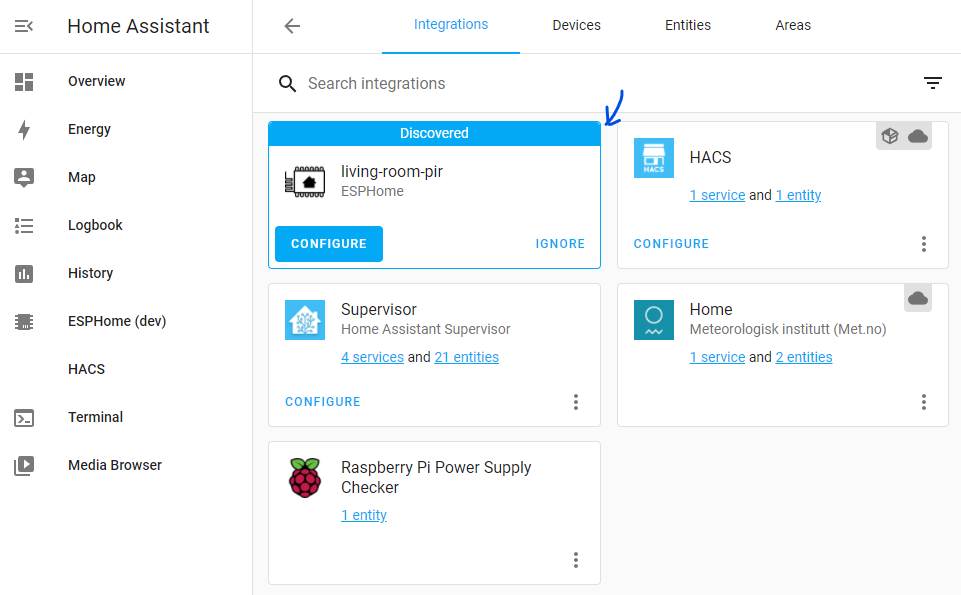
Now click Configuration on the left sidebar, and then Device & Services

A new device should come up, click CONFIGURE to add it to Home Assistant.
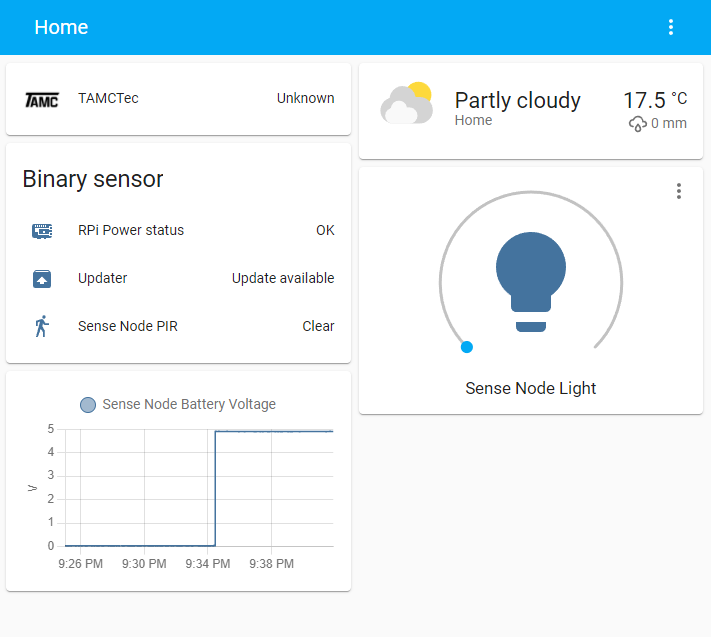
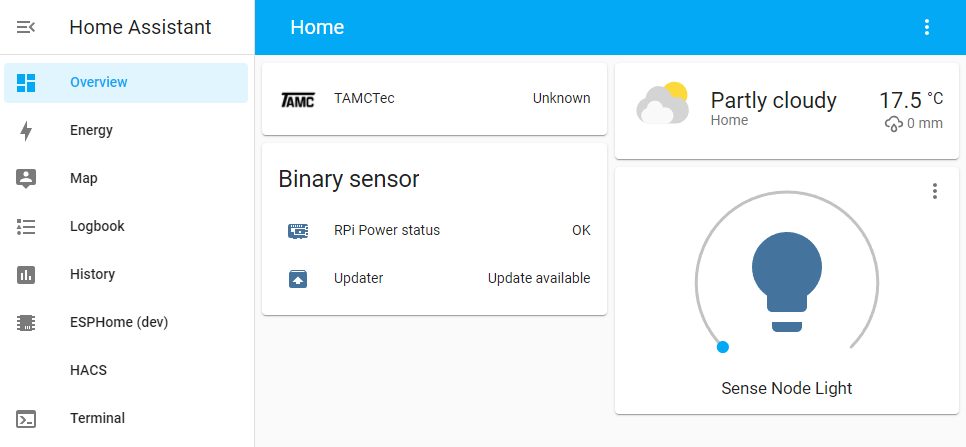
Now your device is added! Go to Overview page, you should see it! If not, add it manually. And try to turn it on and off to see if it works.
Add a battery indicator and a sensor
Now is time to add a sensor to the sense node. ESPHome is capable for a lot of sensors, here we are going to add a PIR sensor as an example. For more information, please refer to the ESPHome
Go to ESPHome(dev) again. If you have add it to the sidebar, just click on it. Or, go through the Configuration => Add-ons, Backups & Supervisor and click on ESPHome => OPEN WEB UI.
On ESPHome page, click on edit under your device.
Now in the yaml editor, add the following line to the bottom:
Click the bottom right INSTALL button. Now maybe you can upload the code wirelessly, If it shows your device as ONLINE, choose the first option Wirelessly. But mine never shows ONLINE even it works great on Overview page. If so, install it like before.
After installation is done, you can now add a battery voltage log and the sensor state to Overview page.